With commit 9a4548a (on develop), we have completely re-structured JUCE’s low-level Android code. JUCE’s Android support is now much more flexible, allowing you to choose which parts of JUCE you want to use for your app’s code/GUI and which parts you would like to implement natively.
If you haven’t already, please read this post here, which is a quick introduction to the changes made on develop to support this more flexible design.
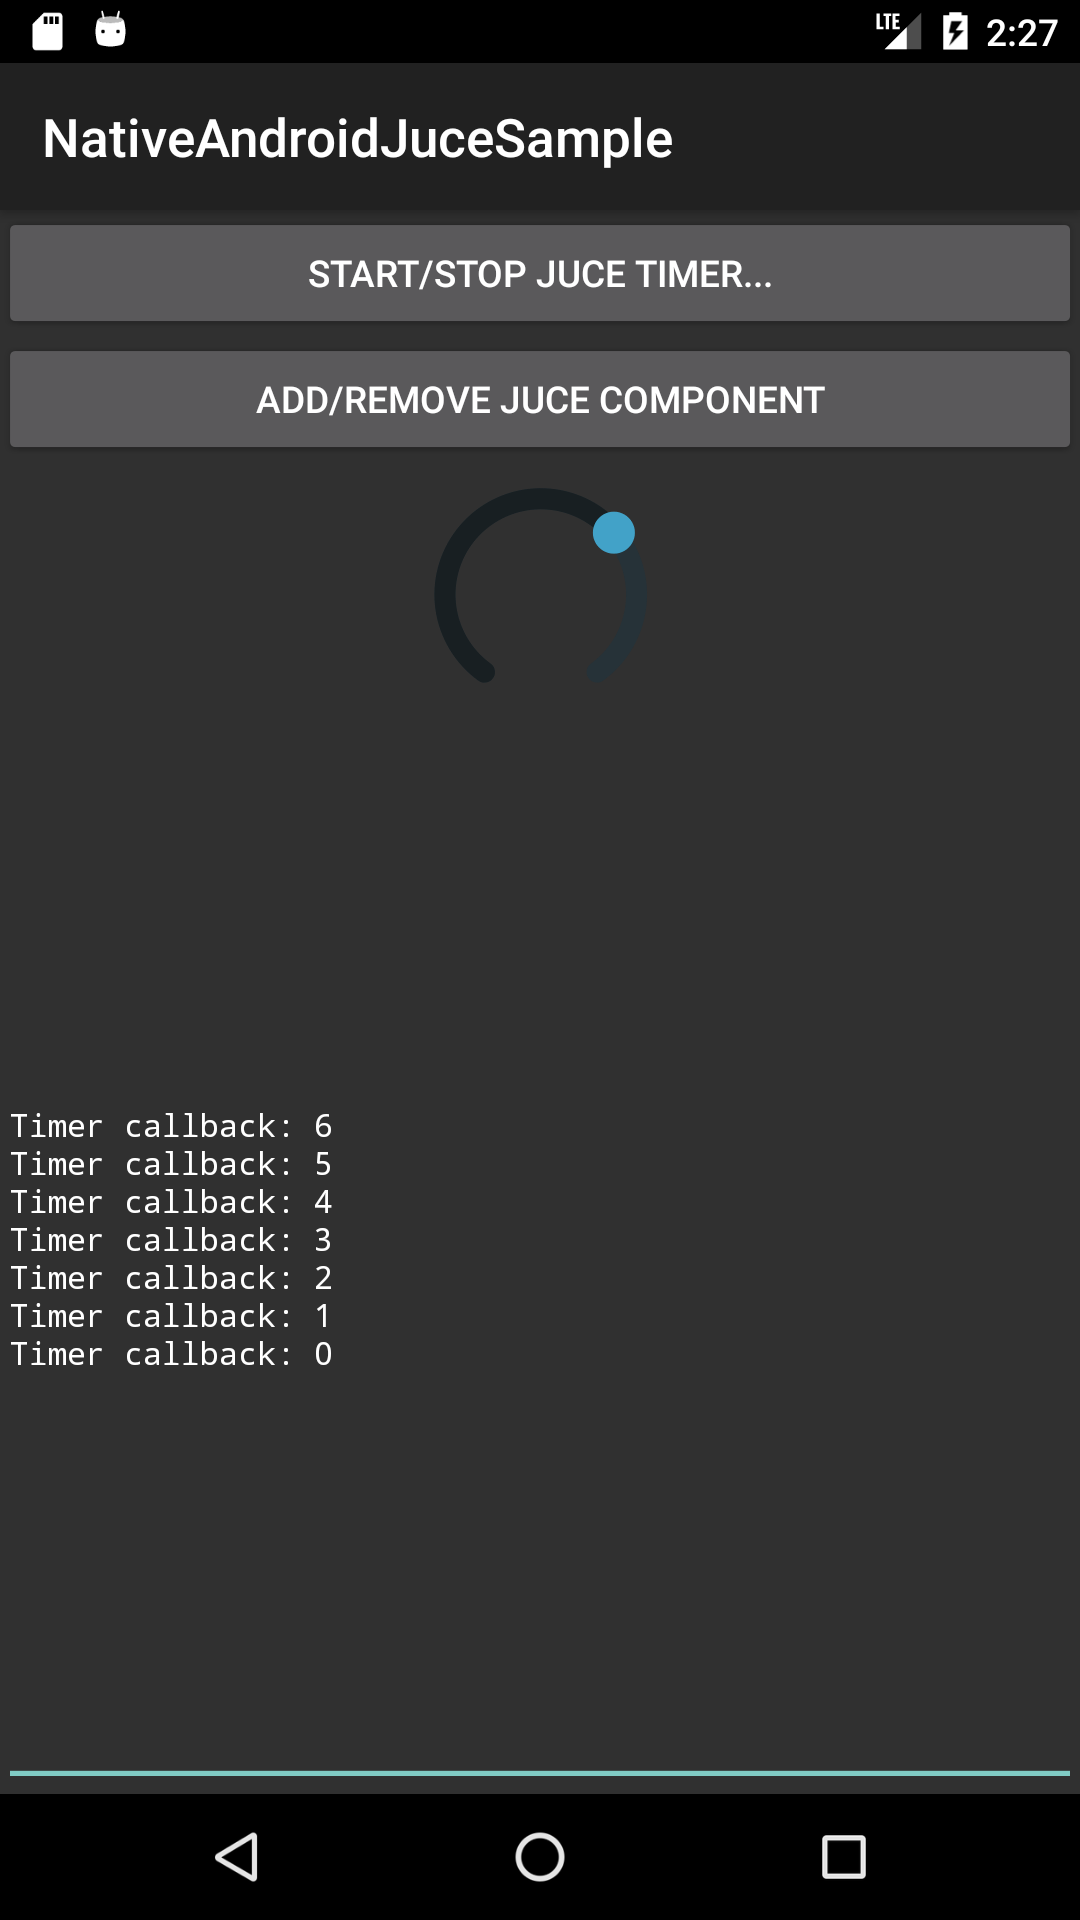
This post is a quick introduction on how you can mix both native and JUCE code/GUI elements. The project can be downloaded here.
As this post discusses the use of native Android code and GUI elements, it does expect you to be proficient on how to write Android activities in Java, how Android gradle projects are structured, how to use and load Android layout.xml files and the basics of JNI. If this is all new to you, then you should probably stick to 100% JUCE code. This also ensures that your app runs on all supported platforms without any changes.
By default, JUCE will now use Android’s base activity class (android.app.Activity) as your apk’s main activity. This activity is simply an empty activity window. As is the case on any other JUCE platform, you create your JUCE GUI by creating JUCE windows (ComponentPeers) which are now top-level Android Windows (instead of Views).
However, you can also tell the Projucer to use an Activity class that you provide, by changing the “Custom Android Activity” field in the Projucer (please make sure that you re-compile the Projucer!). The field takes a full java class path to your activity. To provide the java source code to this activity, you can now also tell JUCE that it should look for java and resource files in custom folders (the paths are relative to your .jucer file):

To summarize, we tell JUCE to use our own Activity (com.acme.NativeAndroidJuceActivity) as the main activity class. The java code for this class is located at Source/java/com/acme/NativeAndroidJuceActivity.java and we tell JUCE to look for this java file in Source/java. We also tell JUCE to look for resource files (such as native layout xmls) in Source/res.
If you haven’t added any .cpp code yet, then your app is now a pure java Android app. After opening your project in Android Studio, you can customise your app’s NativeAndroidJuceActivity java code and edit your app’s GUI in Android Studio’s layout editor by creating layout xml files in your Source/res/layout folder:

To now invoke some JUCE code, add a native method to your java’s activity code. There are many ways you can define this method in your cpp code, but with commit 9a4548a there is now a particularly elegant way where you basically create a counterpart class in your .cpp code. In this counterpart class, you implement all the native methods and can easily invoke any non-native java methods. Look at NativeAndroidJuceActivity.cpp and NativeAndroidJuceActivity.java in the sample project to see exactly how this is done.