Add a new Component for the Slider via Projucer:


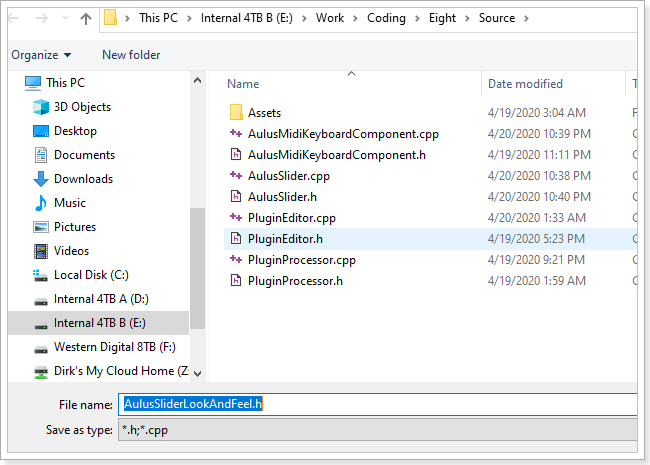
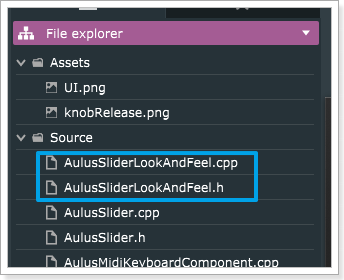
To be able to change the Look and Feel create another Component for the LookAndFeel:


Copy your stitched Knob ( How to create a stitched Knob read below ) to your Source/Asset Folder and drag it to Projucer to make it a Binary Data:

Now launch Visual Studio to save your Changes:

// AulusSlider.h

#pragma once

#include <JuceHeader.h>
#include "AulusSliderLookAndFeel.h"

//==============================================================================
/*
*/
class AulusSlider : public Slider
{
public:
    AulusSlider();
    ~AulusSlider();

    void mouseDown(const MouseEvent& event) override;
    void mouseUp(const MouseEvent& event) override;


private:
    AulusSliderLookAndFeel aulusSliderLookAndFeel;
    Point<int> mousePosition;
    JUCE_DECLARE_NON_COPYABLE_WITH_LEAK_DETECTOR (AulusSlider)
};
// AulusSlider.cpp

#include <JuceHeader.h>
#include "AulusSlider.h"

//==============================================================================
AulusSlider::AulusSlider() : Slider()
{
    // In your constructor, you should add any child components, and
    // initialise any special settings that your component needs.
    setLookAndFeel(&aulusSliderLookAndFeel);
}

AulusSlider::~AulusSlider()
{
    setLookAndFeel(nullptr);
}

void AulusSlider::mouseDown(const MouseEvent& event)
{
    Slider::mouseDown(event);
    setMouseCursor(MouseCursor::NoCursor);
    mousePosition = Desktop::getMousePosition();
}

void AulusSlider::mouseUp(const MouseEvent& event)
{
    Slider::mouseUp(event);
    Desktop::setMousePosition(mousePosition);
    setMouseCursor(MouseCursor::NormalCursor);
}
// AulusSliderLookAndFeel.h

#pragma once

#include <JuceHeader.h>

//==============================================================================
/*
*/
class AulusSliderLookAndFeel : public LookAndFeel_V4
{
public:
    AulusSliderLookAndFeel();

    void drawRotarySlider(Graphics& g, int x, int y, int width, int height, float sliderPos, float rotaryStartAngle, float rotaryEndAngle, Slider& slider) override;
    void drawLabel(Graphics& g, Label& label);

private:
    Image knobRelease;
};
// AulusSliderLookAndFeel.cpp

#include <JuceHeader.h>
#include "AulusSliderLookAndFeel.h"

//==============================================================================
AulusSliderLookAndFeel::AulusSliderLookAndFeel() : LookAndFeel_V4()
{
    // In your constructor, you should add any child components, and
    // initialise any special settings that your component needs.
    knobRelease = ImageCache::getFromMemory(BinaryData::knobRelease_png, BinaryData::knobRelease_pngSize);

}

void AulusSliderLookAndFeel::drawRotarySlider(Graphics& g, int x, int y, int width, int height, float sliderPos, float rotaryStartAngle, float rotaryEndAngle, Slider& slider)
{
    if (knobRelease.isValid())
    {
        const double rotation = (slider.getValue()
            - slider.getMinimum())
            / (slider.getMaximum()
                - slider.getMinimum());

        const int frames = 256;
        const int frameId = (int)ceil(rotation * ((double)frames - 1.0));
        const float radius = jmin(width / 1.0f, height / 1.0f);
        const float centerX = x + width * 0.5f;
        const float centerY = y + height * 0.5f;
        const float rx = centerX - radius - 1.0f;
        const float ry = centerY - radius;

        int imgWidth = knobRelease.getWidth();
        int imgHeight = knobRelease.getHeight() / frames;
        g.drawImage(knobRelease, 0, 0, imgWidth, imgHeight, 0, frameId * imgHeight, imgWidth, imgHeight);
    }
    else
    {
        static const float textPpercent = 0.35f;
        Rectangle<float> text_bounds(1.0f + width * (1.0f - textPpercent) / 2.0f, 0.5f * height, width * textPpercent, 0.5f * height);

        g.setColour(Colours::white);

        g.drawFittedText(String("No Image"), text_bounds.getSmallestIntegerContainer(), Justification::horizontallyCentred | Justification::centred, 1);
    }
}

void AulusSliderLookAndFeel::drawLabel(Graphics& g, Label& label)
{
    g.setColour(Colour(uint8(255), 255, 255, 1.0f));
    g.fillRoundedRectangle(label.getLocalBounds().toFloat(), 3.0f);


    if (!label.isBeingEdited())
    {
        auto alpha = label.isEnabled() ? 1.0f : 0.5f;
        const Font font(getLabelFont(label));

        g.setColour(Colour(uint8(0), 0, 0, 1.0f));
        g.setFont(font);

        auto textArea = getLabelBorderSize(label).subtractedFrom(label.getLocalBounds());

        g.drawFittedText(label.getText(), textArea, label.getJustificationType(),
            jmax(1, (int)(textArea.getHeight() / font.getHeight())),
            label.getMinimumHorizontalScale());

        g.setColour(Colour(uint8(255), 255, 255, 0.1f));
    }
    else if (label.isEnabled())
    {
        g.setColour(label.findColour(Label::outlineColourId));
    }

    //g.fillRoundedRectangle(label.getLocalBounds().toFloat(), 3.0f);
}
Add the new Slider to your Editor:
// PluginEditor.h

...
private:
    ...
    AulusSlider mReleaseSlider;
...
// PluginEditor.cpp
...
EightAudioProcessorEditor::EightAudioProcessorEditor (EightAudioProcessor& p) : AudioProcessorEditor (&p), processor (p), keyboardComponent(p.keyboardState, MidiKeyboardComponent::horizontalKeyboard)
{
    ...
    mReleaseSlider.onValueChange = [&]() { processor.changeSamplerRelease(); };
    addAndMakeVisible(mReleaseSlider);
    ...
}

...

void EightAudioProcessorEditor::resized()
{
    ...
    mReleaseSlider.setBounds(170, 255, 128, 150 + 20);
    mReleaseSlider.setSliderStyle(Slider::SliderStyle::RotaryVerticalDrag);
    mReleaseSlider.setTextBoxStyle(Slider::TextBoxBelow, false, 45, 20);
    mReleaseSlider.setTextValueSuffix(" s");
    mReleaseSlider.setNumDecimalPlacesToDisplay(0);
    mReleaseSlider.setTextBoxIsEditable(false);
    mReleaseSlider.setRange(0.001, 5.0, 0.01);
...
Create a stitched Knob
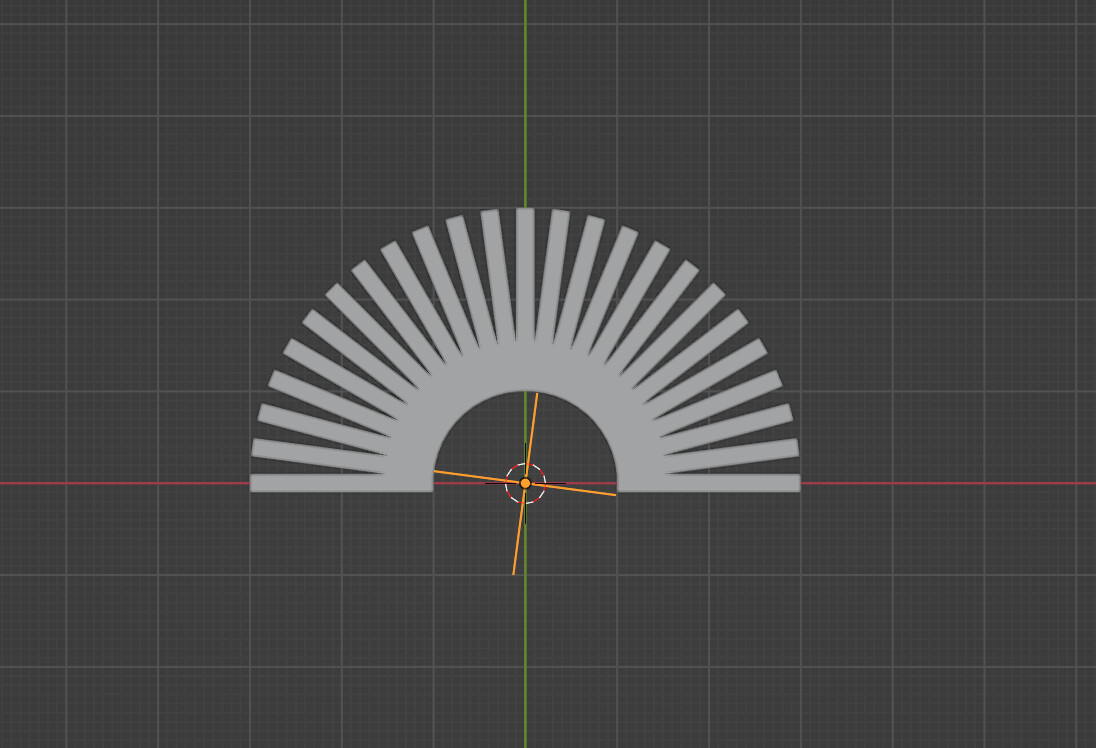
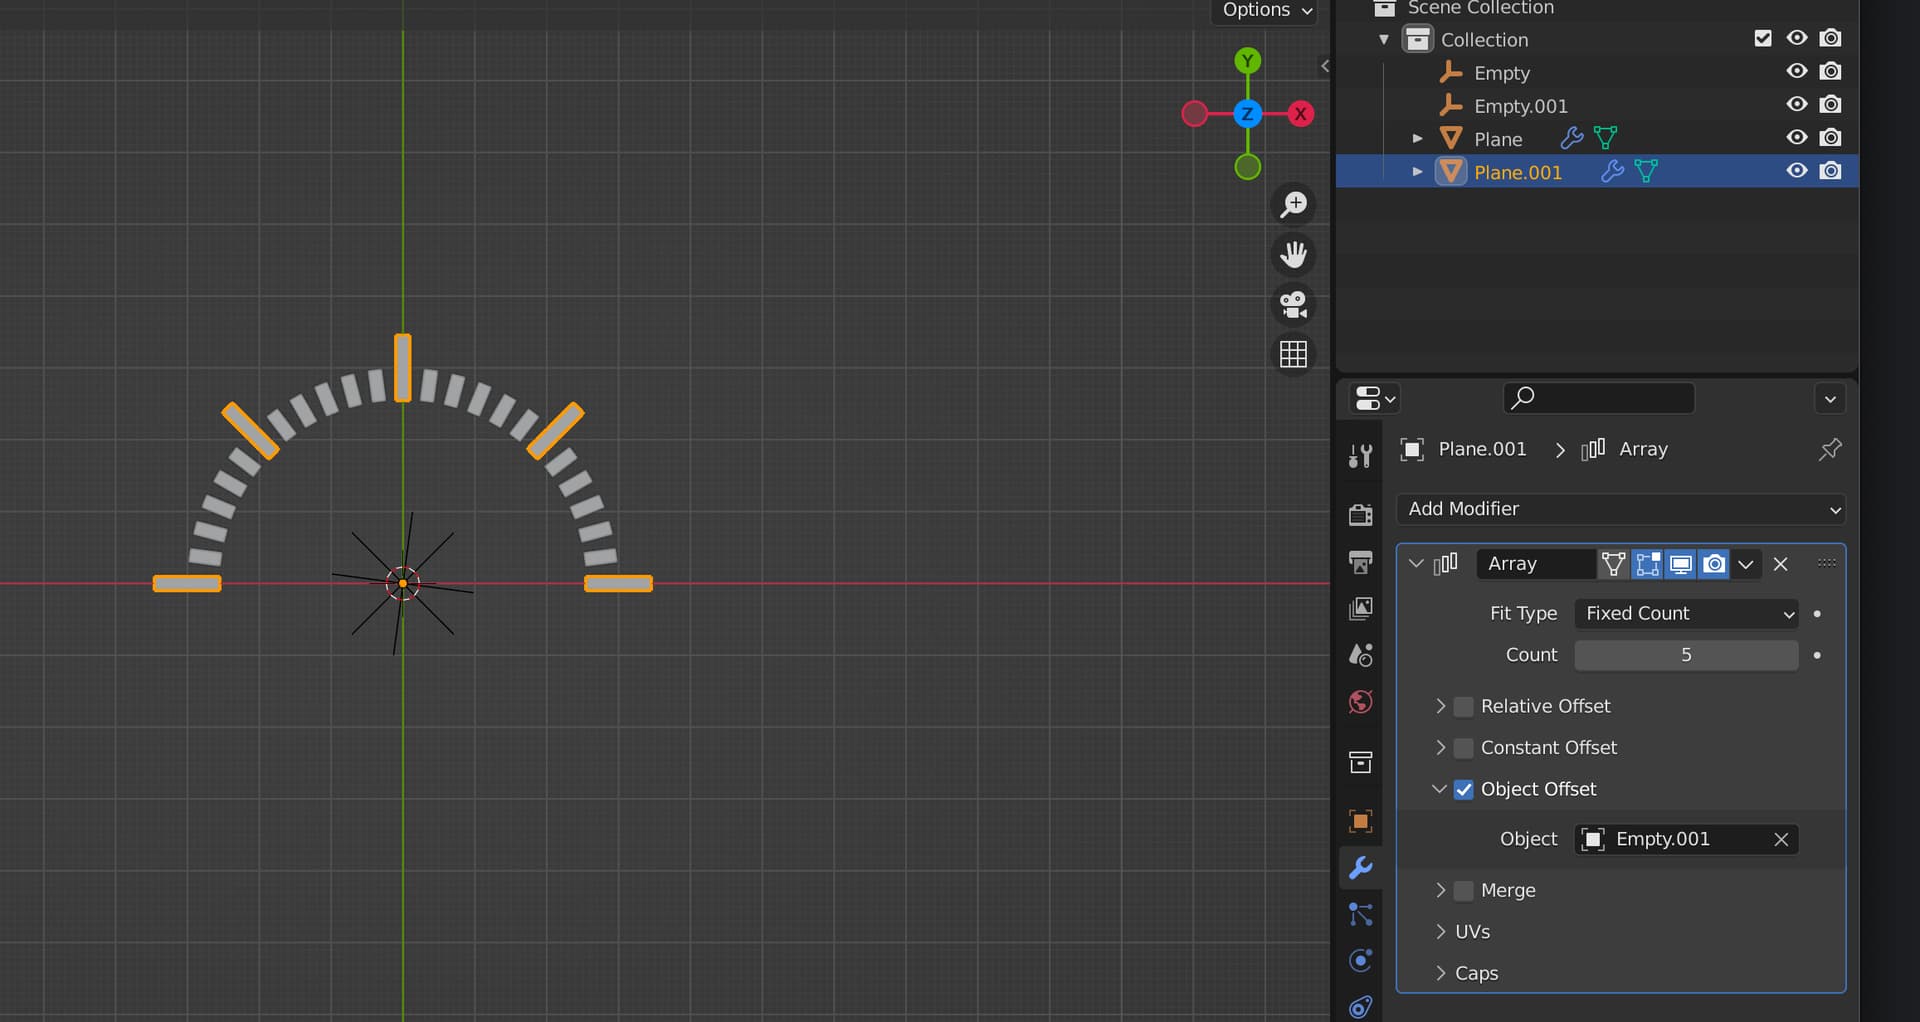
In the above Example we used a 128x150 Pixels by 256 Frames Y-Down stitched Image. It was rendered in Blender.
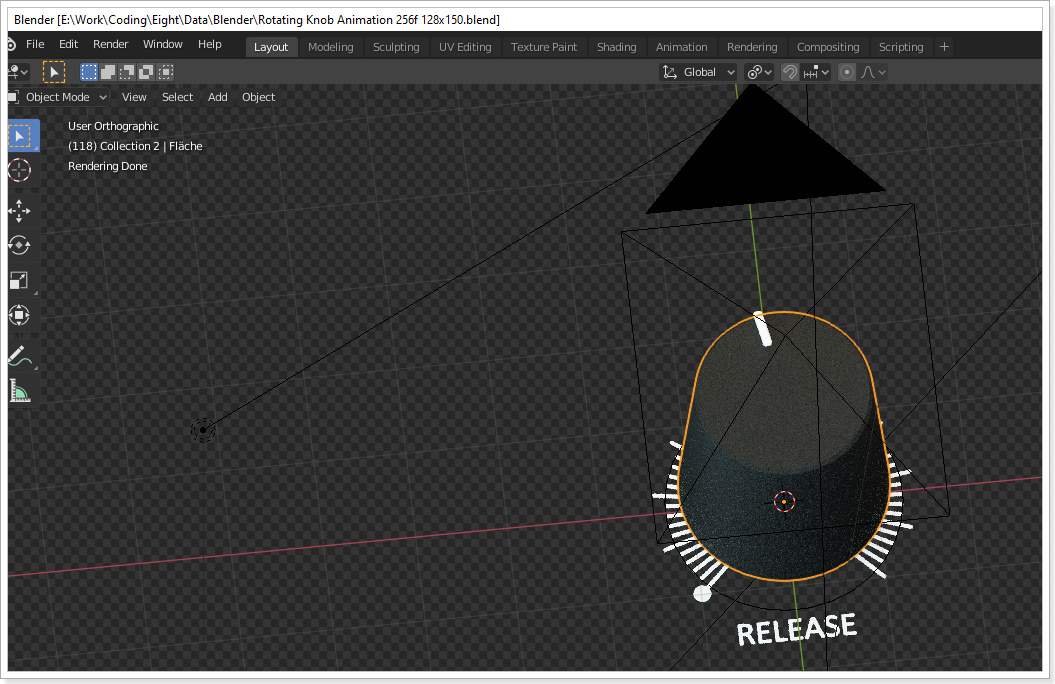
Blender created single Images per Frame:

To create one stitched Image out of those Images we used the following Python Script:
# stitchImages.py

# pip install Pillow

import sys
from PIL import Image

imagesArray = ['Rotating Knob Animation 256f 128x150/'+str('%04d'%image)+'.png' for image in range(1, 256+1)]
# Example: 'Rotating Knob Animation 256f 128x150/0001.png' to 'Rotating Knob Animation 256f 128x150/0256.png'

images = [Image.open(x) for x in imagesArray]
widths, heights = zip(*(i.size for i in images))

def stitchXRight():
    total_width = sum(widths)
    max_height = max(heights)
    new_im = Image.new('RGBA', (total_width, max_height))
    x_offset = 0
    for im in images:
        new_im.paste(im, (x_offset, 0))
        x_offset += im.size[0]
        print('Add Image "%s"..'%im.filename)
    return new_im

def stitchYDown():
    total_width = max(widths)
    max_height = sum(heights)
    new_im = Image.new('RGBA', (total_width, max_height))
    y_offset = 0
    for im in images:
        new_im.paste(im, (0, y_offset))
        y_offset += im.size[1]
        print('Add Image "%s"..'%im.filename)
    return new_im

stitchYDown().save('knobRelease.png')
Execute the Script:

That creates the knobRelease.png Image.
All together creates this Result: