hi guys can you all please show me how to set juce in vs code in windows
Why do you want to use VS Code?
I am myself a fan of VS Code, but using it might not be the right workflow to do Juce projects, especially for a beginner.
I have been using CLion for JUCE projects. I would guess that you can also set up a CMake JUCE project in VS Code.
What is the correct way to use JUCE, and which code editor or IDE should a beginner use? I was using VS Code because it’s popular and there are many resources available to learn it.
Easiest way to get started on Windows in my opinion is to install Visual Studio and use Projucer to set up a Visual Studio project.
3 Likes
Yes, that’s the easiest way for a beginner on Windows.
thanks guys but also just wanted to try one more time to set and run juce projects in vs code if you all know can i have simple step by step instructions
on how to set ? please
Probably the most reliable way is to use cmake + the cmake vscode extension.
A quick search online suggests vscode can debug Projucer-generated projects with the cpptools extension. I haven’t done it personally…
1 Like
Developing Audio Plugins with JUCE and Visual Studio Code | Tristan Trouwen i found this somewhere and i exactly did what it says but still… its showing me errors

One of the most valuable reasons to use JUCE in the first place, is its ability to produce cross-platform build products for a variety of plugin formats. However, without a competent and well-informed mental model of the “Tooling And Methodology” required to exploit the JUCE environment, you can paint yourself into some corners, needlessly.
Keep in mind the difference between ‘tools’ and ‘methods’. Each of the options being discussed so far (tools) will enforce different methods for how you proceed. The JUCE devs, being very skilled, have taken a large swath of the responsibility for the ‘tooling’ and ‘methodology’ and pushed it into very productive realms - but you as a new developer, may be overwhelmed by all of this at first.
It is therefore important to choose a first-step on this path that suits you, personally, as a developer.
If you intend to ship something that will run on MacOS, Windows, Linux, iOS and Android, in any of the plugin formats supported on those platforms, making a clear and informed decision about how to start your project is very important.
To start out, learning, you can of course just target your local development environment, whether its Windows, MacOS or Linux. This route is best taken by deciding on an IDE, and in that regard your options are VSCode/VisualStudio, CLion, XCode, or … even just plain ol’ vim. If you go the VSCode/VisualStudio way, you will need to do a fair bit of plumbing work to get things set up.
Either way, as a beginner, the first thing you should prepare to do is build and run the Projucer and DemoRunner projects applications that come with JUCE, out of the box. Projucer helps you set up your project with a somewhat friendly UI, and DemoRunner of course gives you access to a vast array of code that will explain how to use JUCE properly. Both of these should be your first target to get running, no matter what IDE/build system you choose. The Builds/ folder for each of these projects provides you a bit of a clue about the flexibility of the JUCE framework - the JUCE devs have kindly provided build harnesses for all of the major tools that you might want to use.
Once you get a bit more involved and have a handle on how JUCE works, and how JUCE projects are built for the different platforms, you will hopefully discover that CMake is a very, very handy way to proceed. The difference between using Projucer to set up a JUCE project, and using CMake, can be a bit daunting at first - but luckily enough there is FRUT, which can take a .jucer file and produce a working CMakeLists.txt file to build the project. Therefore, don’t be daunted if you don’t know CMake - yet. Use .jucer (and the Projucer app to create the .jucer file and relevant build harnesses) for as long as you need to get thing started in your project - but the closer you get to actually shipping things, strongly consider switching to CMake and the automated builds process that it enables.
My personal recommendation, is to start out with the Projucer → .jucer file method - using whatever IDE you prefer, such as VSCode/VistualStudio, XCode - but be prepared to move to the CMake method once your project starts to gain traction. (Or just go for CMake out of the box, depending on how comfortable you feel with reading code…)
I have taken that path myself, learning JUCE with XCode in the beginning, but transitioning to a CMake project as things got heftier, and in that regard I can’t recommend CLion enough, even though it requires a commercial license fee be paid. As a professional developer, the cost of this CLion license has been a valuable investment.
Whichever path you take, keep in mind that you should be doing builds on the other platforms frequently, and consistently, in order to test your work properly. It is not always easy to context-switch like this, so for my needs I set up a Virtual Machine for each of the MacOS/Windows/Linux targets, which pulls my project from a git repository whenever I tell it to, does the build, and produces the distributable binaries for testing. I can easily use either MacOS or Windows or Linux to fix/develop things, since CLion runs great on all of these environments, and for that reason I still think beginners would be best served by using the ‘simple IDE’ (VSCode/XCode) first, but transitioning to CMake-based builds as soon as possible. Note, you don’t need CLion to switch to CMake, but its definitely one of the nicest editors for dealing with CMake issues.
Keep in mind, that in this whole “Tooling And Methodology” decision-making process, you would also be best served by having a good package-management methodology under your belt. Both Linux and MacOS have great package management for handling things such as dependencies and tooling - installing cmake/ninja and other build tools is far more productive with package management tools than without them. And for this reason, I recommend that you not use Windows as your primary development environment, but rather as a secondary-environment where you only need build for the Windows targets. Not everyone can afford to have a MacOS machine, a Linux machine, and a Windows machine on their desktop, however - but this is why you should also consider using a VM for your needs.
Either way, good luck! JUCE is an amazing framework, and as a developer with 30+ years of experience developing cross-platform software, professionally, I can only say that once you get all of this in your grasp, you’re going to have a great time. It is so enjoyable to click ‘git push’ and then, a few minutes later, see the .exe and .dmg and .tar.gz files produced at the end of a production line …
(On that note, would it be of interest to the community if someone set up a JUCE-builder-as-a-service project somewhere along the line …?)
2 Likes
![]()
![]()
![]()
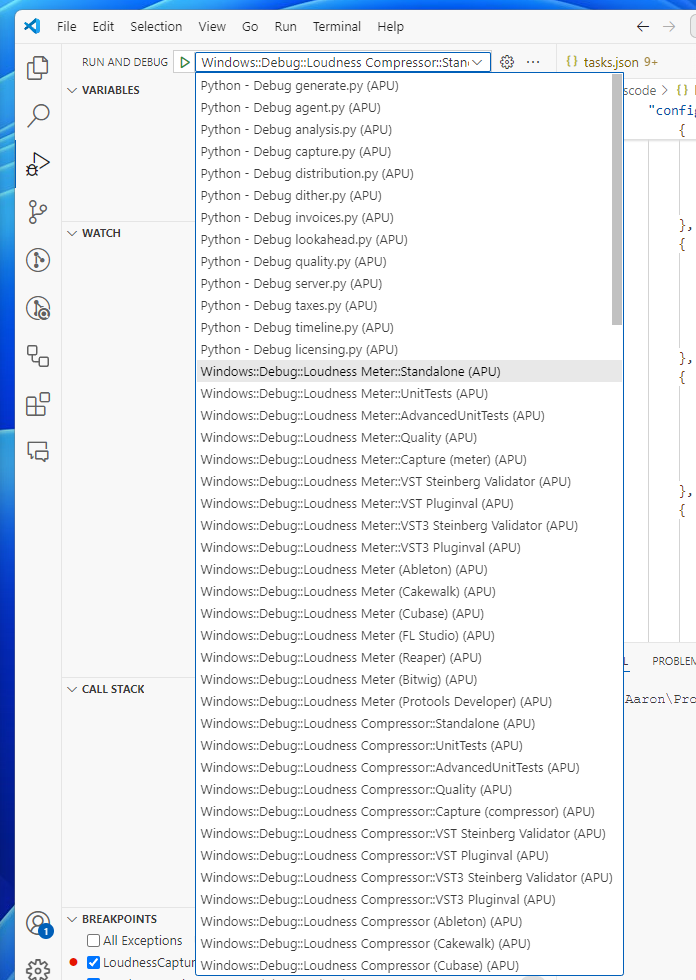
I’d just like to add that you can get a full development set up with JUCE using vscode. That includes cmake, cpp project compilation and running the DAW and step debugging your plugins all from vscode.
And vscode is a pretty reasonable IDE for this when it’s configured properly.
However, the syntax highlighting doesn’t play well with JUCE’s modules or unity builds.
If you don’t create your own JUCE style modules then you’ll be ok. But if you do you’ll see red underlines allover the place even though it still compiles ok. Even without making your own JUCE style modules you’ll see this if you jump to the source of the JUCE library.
That annoyed me enough that I made the jump to Clion which does a much better job of handling this stuff. The downside is that chomping through unity builds makes Clion quite resource (memory and CPU) hungry when its doing its thing.
And, unlike vscode, Clion isn’t free. But you can get it monthly for the price of a couple of latte’s, so if you’re serious at all it’s worth it.
I’m just going to say: VScode can be incredibly productive for JUCE development.
The main caveat is you need to create the launch.json and tasks.json configurations to build and debug. This is not terribly complicated, you can find threads on this forum for examples. The creation of these scripts can be automated with a simple Python script. Build this stuff once and your next N years of development are a million times more productive.
Once you have things up and running, it’s hard to imagine living without the constant time savings.


2 Likes